Planning your macOS app
If you’re new to Mac software development, take a moment to get familiar with the tools and technologies you’ll use. Apple provides everything you need to get started, and macOS technologies help you get the features and performance you want from your apps.

Explore the possibilities
The Mac is all about speed and power, and macOS helps you maximize the performance of your apps. Mac is ideal for apps that require raw processing power to execute tasks as quickly as possible. However, you also use it for day-to-day tasks such as communication, news and information, social media, games, and much more.
macOS offers different paths for delivering your content, and the path you choose affects the initial decisions you must make:
Assemble your UI from standard views
Build apps quickly from buttons, text labels, and other standard views and controls built into macOS. Customize the appearance of controls, or create entirely new views to present your content in unique ways. This approach works well for most apps and shortens development time.
Build software without a UI
Choose this path for lightweight tools and utilities that don’t require UI. Create command-line tools and scripts, XPC services, modules to support custom file systems or cloud storage, database and server software, open source tools, new programming languages, UNIX tools, and much more.
After you choose a particular path, think about the features you need for your app. Apart from a few core technologies, you can adopt most technologies as necessary to support specific features. macOS technologies insulate your app from low-level hardware details and provide a stable base for building your features.
If you have an existing iPadOS app, you can use Mac Catalyst to create a version of your app that runs on Mac.
Where to start
Software development starts with Xcode — Apple’s integrated development environment. Xcode offers a complete set of tools for developing software, including project management support, code editors, visual editors for your UI, debugging tools, simulators for different devices, tools for assessing performance, and much more. Xcode also includes a complete set of system code modules — called frameworks — for developing your software.
Download Xcode from the Mac App Store
Xcode includes the SDKs for iOS, iPadOS, macOS, tvOS, and watchOS.
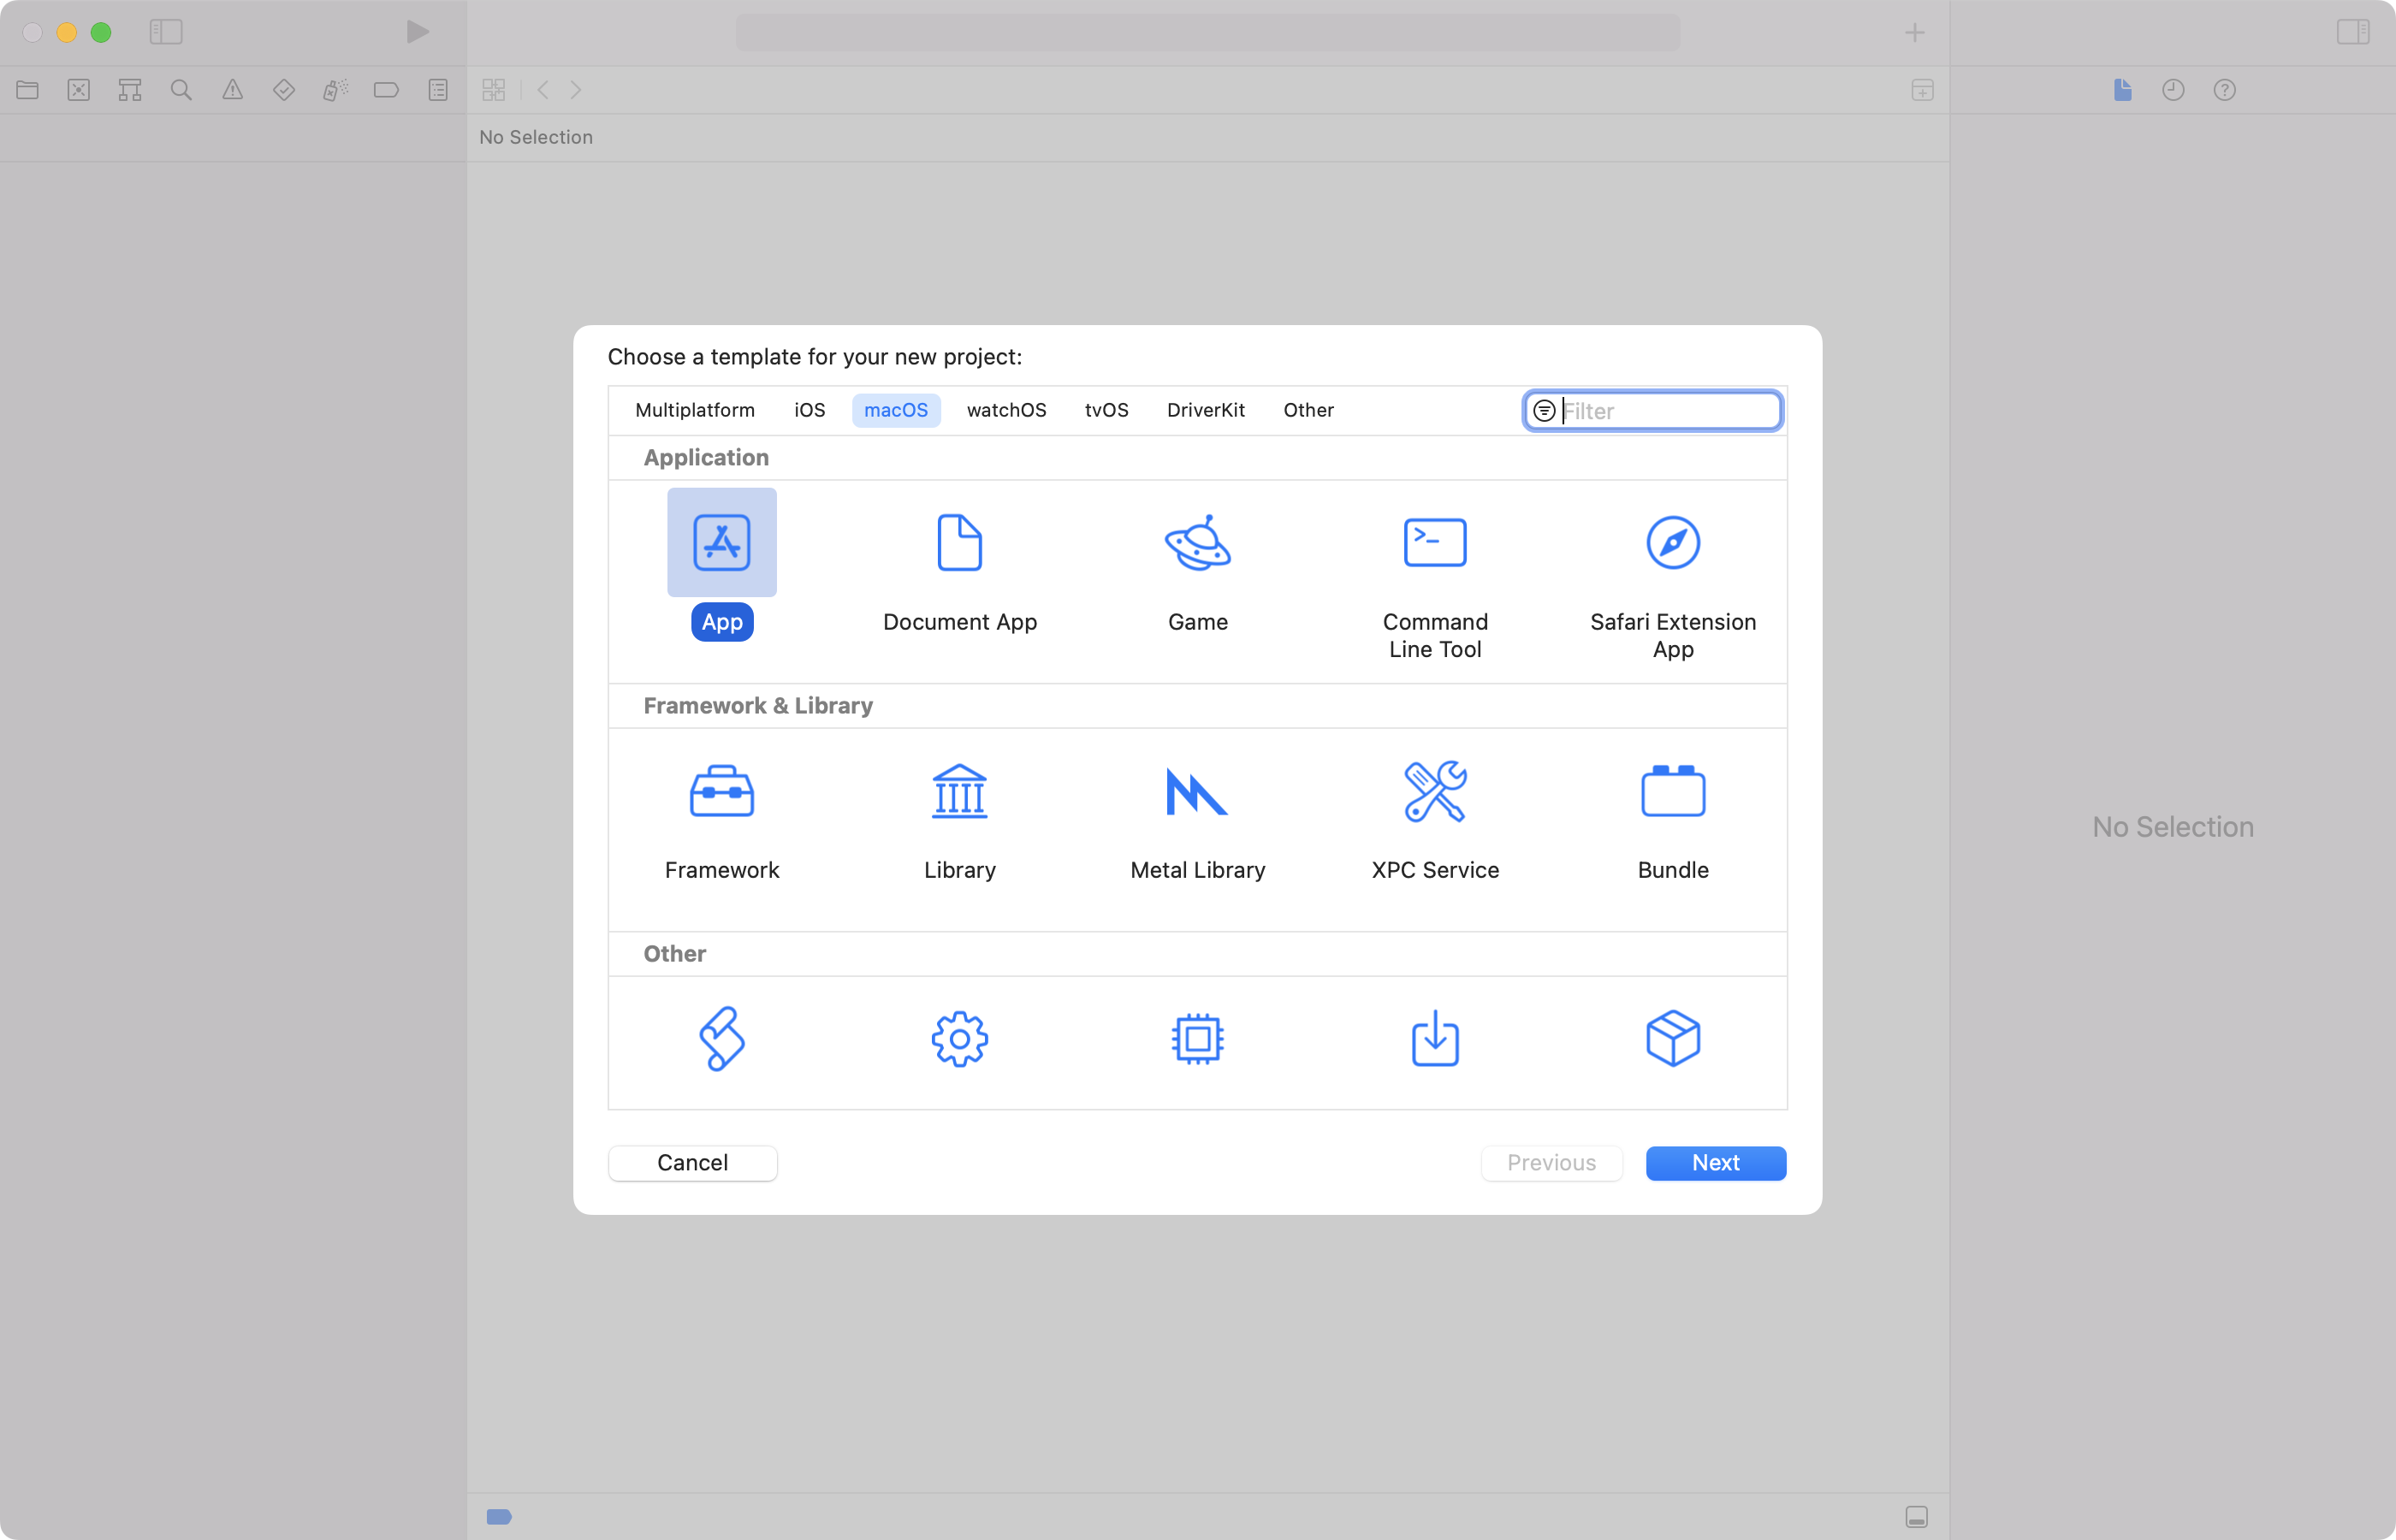
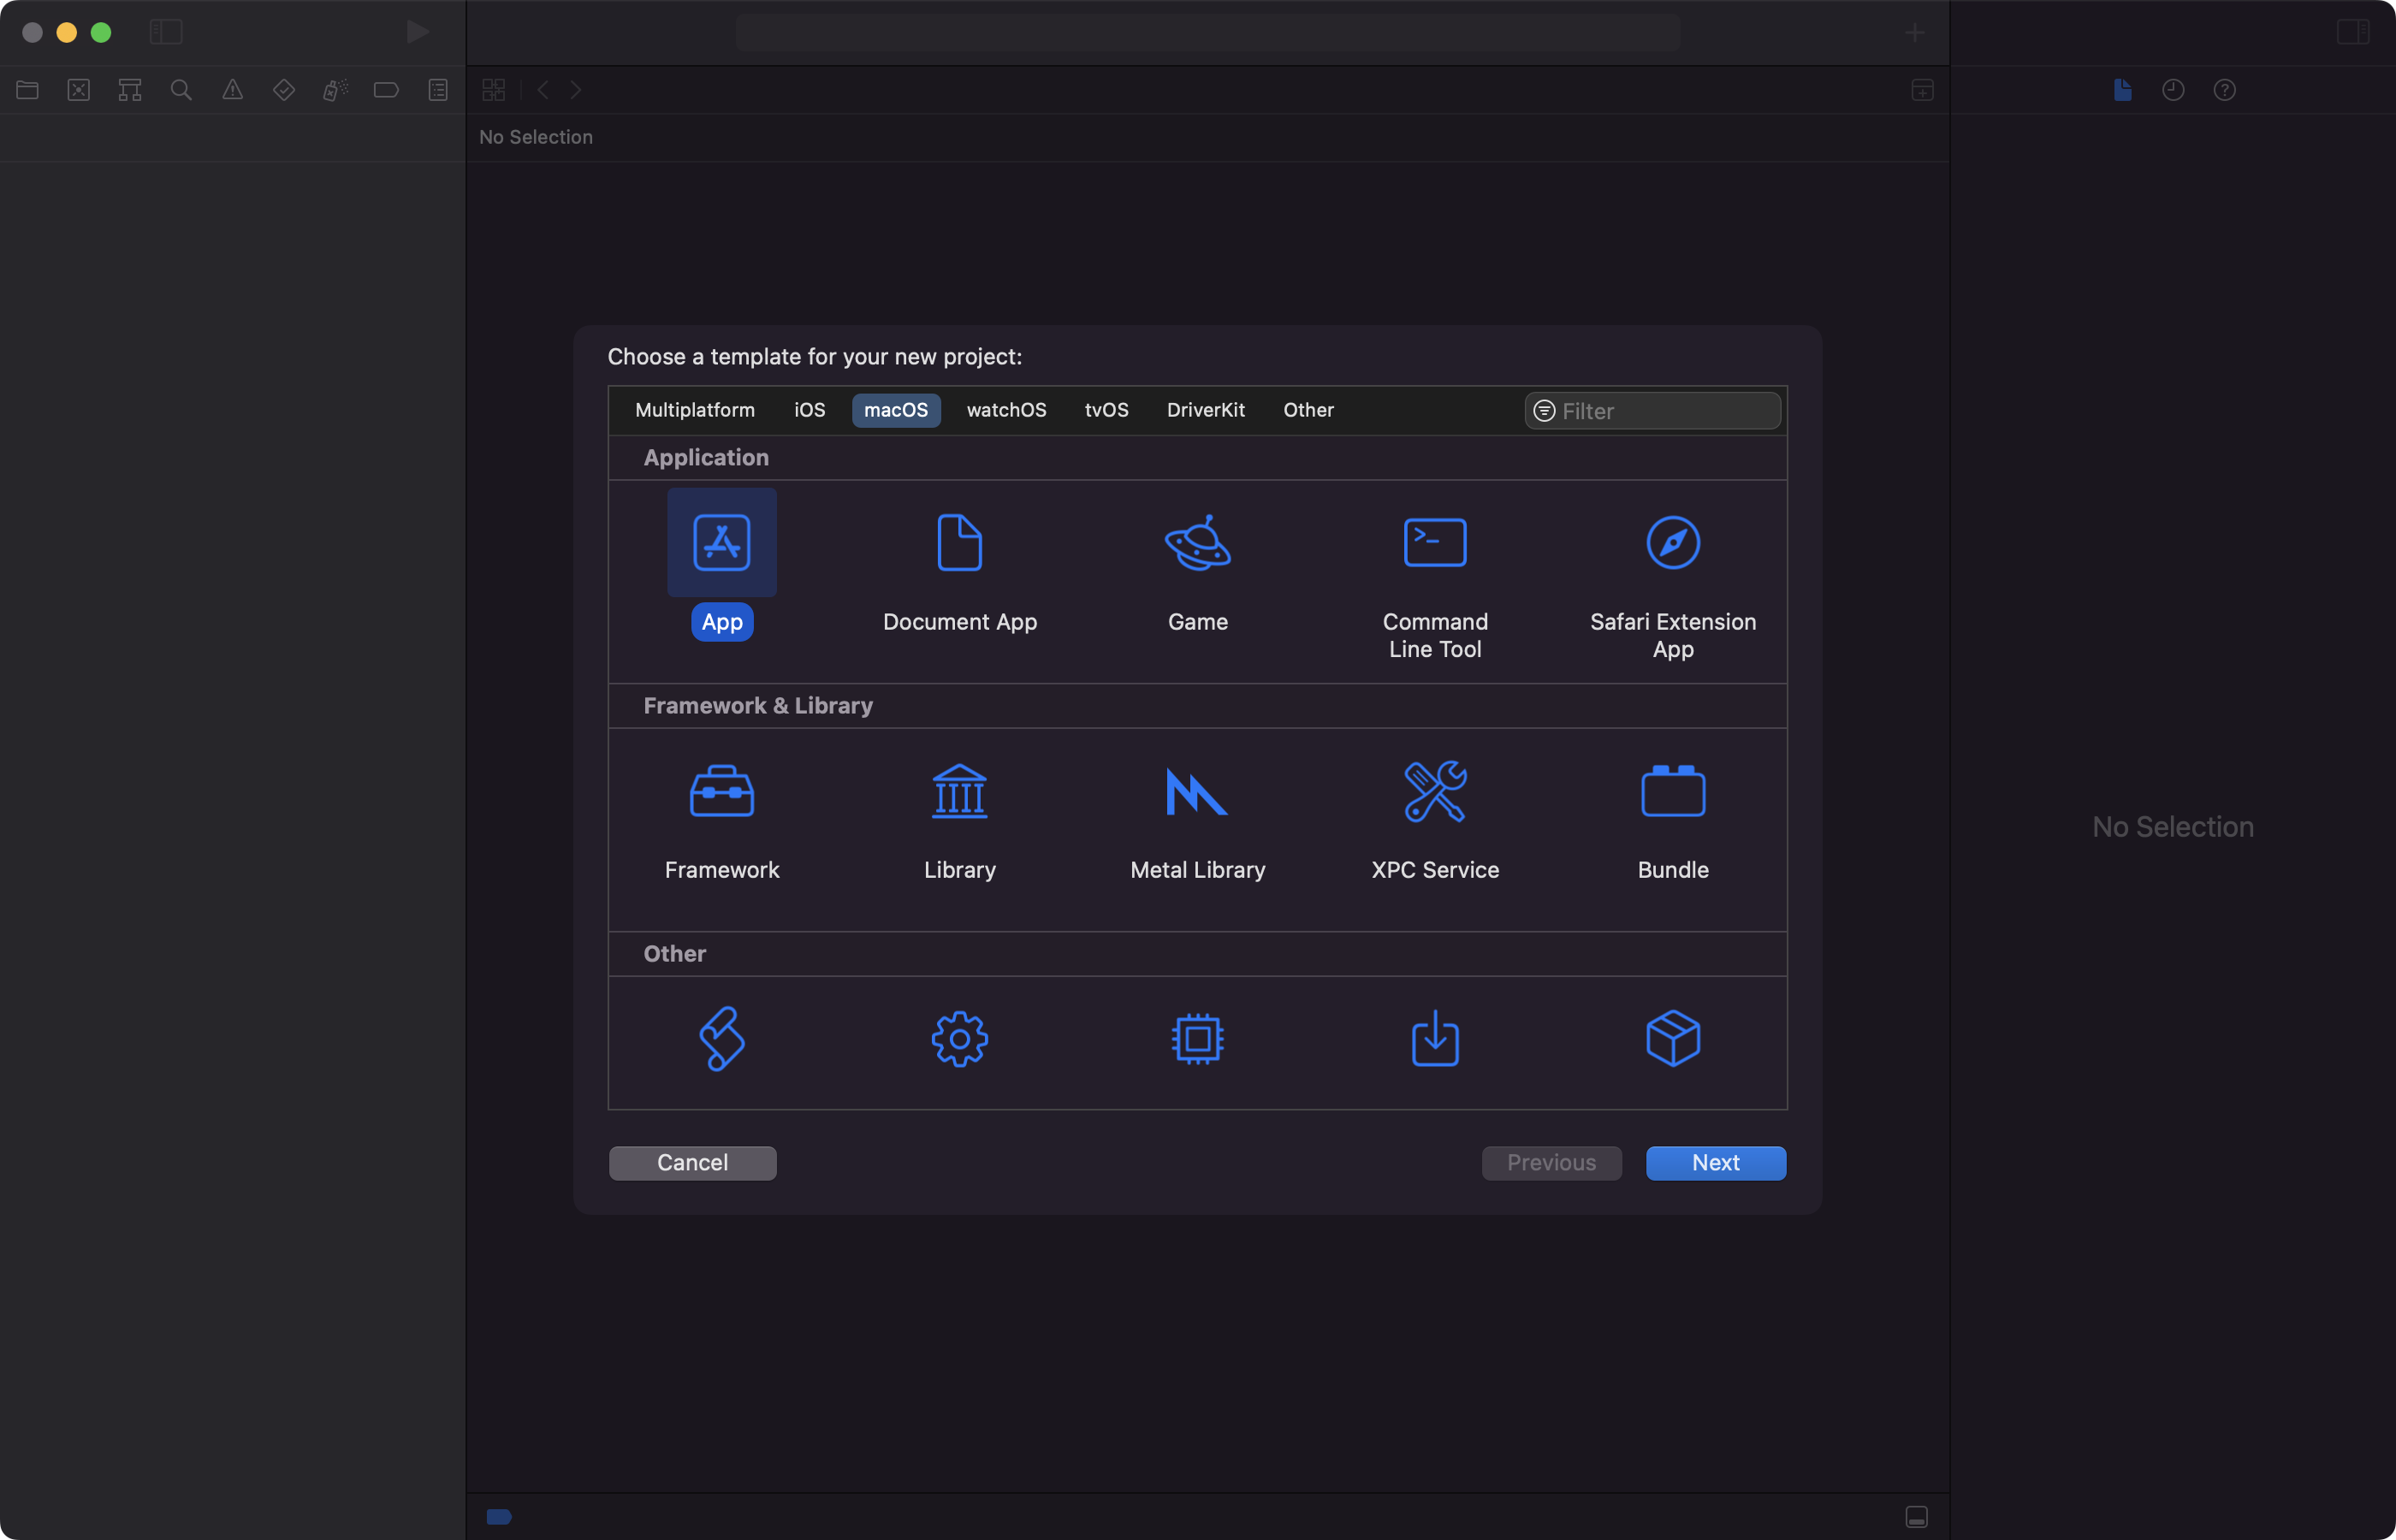
To create a new project in Xcode, choose File > New > Project and follow the prompts to create a macOS app. New projects come with some default code to get you started, with the type of app determining your initial starting point. For information about how to use Xcode, view Xcode documentation.
Swift Playgrounds is an interactive coding environment for people who want to learn and experiment with code and developer technologies. For more information, view Swift Playgrounds.
Adopt Swift
As you set up your project, consider which programming language to use. Swift is the preferred option because its syntax is concise, safe by design, and has modern features that make your code more expressive. Swift code also produces software that runs lightning-fast, and it’s interoperable with Objective-C so you can include source files for both languages in the same project.
Swift Programming Language Guide
The Swift Programming Language book gives a complete overview of the Swift programming language, and is the perfect place to begin your journey learning Swift.
Choose your app-builder technology
Another early choice to make is which app-builder technology to use for your interface. Apple’s app-builder technologies provide the core infrastructure macOS needs to communicate with your app. They also define the programming model you use to build your interface, handle events, and more.
SwiftUI
SwiftUI offers a modern, platform-agnostic approach to building your UI and app infrastructure. Specify your interface programmatically from a set of standard SwiftUI views or create custom views with any appearance you want, and present a visual representation of your interface in real-time. At runtime, the system uses your code to build your app’s final interface manage changes to it. This programmatic approach to UI gives you many standard behaviors for free, and simplifies the process of keeping your UI up-to-date. For a guided walkthrough of how to use SwiftUI, view the Introducing SwiftUI tutorial.
AppKit
AppKit lets you assemble your interface visually using storyboards. AppKit offers a more traditional approach to building apps, giving you full control over the management of interface elements. Write the code you need to update views and controls, change their configuration, and communicate changes to other parts of your app. To get started with building AppKit apps, view the AppKit documentation.
SwiftUI is the preferred technology for your app’s infrastructure and UI, and offers a better starting point for development. Even if you build your initial UI with AppKit, SwiftUI and AppKit views are interoperable. You can easily mix SwiftUI views and AppKit views in the same view hierarchies.
In addition to building your app’s infrastructure, macOS also includes technologies to build your app’s data structures. Swift Standard Library and Foundation framework provide the fundamental types you use frequently, such as arrays and dictionaries, strings, numbers, dates, and other common data value types. You can also create your own custom types and adopt Swift’s Codable support to persist those types to disk. If your app manages larger amounts of structured data, consider using Core Data and CloudKit to manage and persist that data.
Design the user experience
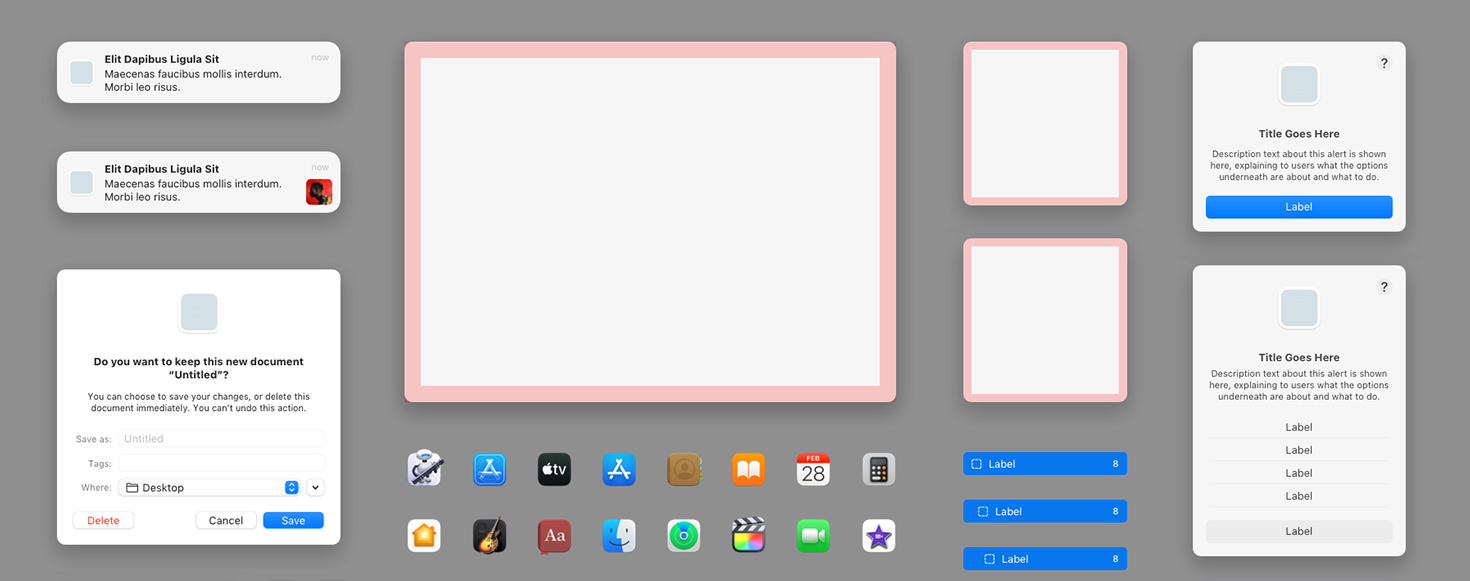
An app that offers an engaging experience keeps people coming back. Create a UI that looks good, has an easy-to-understand layout, and emphasizes the right content throughout.
The Mac gives you a lot of screen space to build a rich interface, so think about how to present that information in an intuitive way. Also consider the impact that system-specific design patterns have on your UI.
- Windows define the core of your app’s UI. Create one window or multiple windows, and place similar or different content in each one. Set your windows to a specific size or let people resize them. Support full-screen mode for a distraction-free working environment.
- Menus define the actions people take on your content. The menu bar at the top of the screen displays the active app’s menus. Identify relevant actions in your own app, and craft menus that reflect how people interact with your content.
- The Dock offers convenient access to apps, documents, windows, and folders. Add a custom Dock menu to display frequently accessed commands, or add a badge to your app’s icon to signal new content.
Human Interface Guidelines
Apple’s Human Interface Guidelines offer invaluable information on how to design your app’s interface, navigate content, and manage interactions on Mac. Make reading these guidelines a priority in your explorations of the macOS ecosystem, and use the corresponding Apple Design Resources to dive into designing your app.
Certain features and technologies are essential for all macOS apps. When planning your initial UI, make sure you adopt the following features:
Window controllers
On macOS, a window controller manages the content for one window in your interface, including loading, displaying, and closing the window. SwiftUI uses scenes to manage windows. AppKit uses NSWindowController objects.
Auto Layout
Rather than adjust the position of views manually to accommodate full-screen mode and different window sizes, tell the system how to make those adjustments relative to the current safe areas. SwiftUI adopts automatic layout as part of its UI design approach. To adopt automatic layout in AppKit views, add Auto Layout constraints to your interface.
Appearance variations
Build your UI to support system-level appearance changes. Dark Mode lets people choose between a light or dark UI, and accessibility settings let people choose a high-contrast UI. Different appearances rely on different color palettes and image assets, which you manage with the help of asset catalogs. For other parts of your UI, use system APIs to determine when it’s time to change between light, dark, or high-contrast content. For information, view Supporting Dark Mode in your interface.
Text styles
Adopt text styles and dynamic font variants for your app’s text. A text style defines the semantic usage of a piece of text — for example, the body text style defines primary content. A text style’s font characteristics remain the same even when you change the font size, allowing you to scale text and retain the intended appearance of your app. Use dynamic font variants for menus, tool tips, and specific elements of your interface to preserve consistency with the appearance of standard UI elements. For guidance, view Typography.
Scalable images
Incorporate SF Symbols to make your app more adaptable to changes. The SF Symbols app offers a vast collection of configurable, vector-based images that adapt naturally to appearance and size changes. They also blend well with the San Francisco system font, resulting in a consistent look across Apple platforms. View Configuring and displaying symbol images in your UI.
Handle documents and files gracefully
In macOS, people have direct access to the file system and can add, delete, move, and inspect files from the Finder or Terminal apps. Support technologies that help people access their files, and make sure your app is resilient to changes happening elsewhere:
Share files across devices with iCloud Drive
Give people the option to store documents and files in iCloud which ensures access to those files on all of their devices. Share small amounts of data using iCloud key-value storage.
Store private files in your app’s container directory
If your app creates intermediate files, caches, or other content you don’t want people to change, store those files in an app-container directory. Containers offer well-defined places for your content and are hidden from view to prevent people from accidentally changing your content.
Provide Quick Look previews for custom file types
People use Quick Look to glimpse a file’s contents from the Finder without opening the file. Provide a Quick Look plug-in for any custom document formats you define. For information, view QuickLookUI.
If your app supports file-based documents, provide a smooth and frictionless document-editing experience. Model document content using SwiftUI document types or the AppKit NSDocument type. Help people recover from mistakes during editing by building Undo and Redo support into your app’s editing code. Prevent people from losing changes to their documents by adopting auto-save capabilities. For more information, view Developing a document-based app.
Adopt best practices during development
Offer the best possible experience for everyone by doing the following:
Protect people’s privacy
Privacy is important, so keep people informed about how you use their data. If you collect data, offer a privacy statement that explains how you use that information. When you use Apple technologies that operate on personal data, include usage descriptions for the system to display on first use. For more information, view Protecting the user’s privacy.
Secure the data you collect and store
If you do collect data, make sure you protect that data from malicious attacks. Adopt passkeys as a secure alternative to passwords. Store personally identifiable information, financial data, or other sensitive data in the user’s encrypted Keychain. Use on-disk encryption or other Apple security technologies to store other personal data. Use Apple CryptoKit to encrypt data that you store locally or send outside your app.
Audit your accessibility support
Apple builds accessibility support right into its technologies, but screen readers and other accessibility features rely on information your app provides. SwiftUI and AppKit can describe each piece of your UI, but only you know how those pieces work together. Review accessibility labels and other descriptions to make sure they provide helpful information, and make sure focus-based navigation is simple and intuitive. For more information, view Accessibility.
Internationalize and localize your app
Embrace a global market by localizing your app for other regions and languages. Prepare your app using the Foundation framework, which provides code to format strings, dates, times, currencies, and numbers for different languages and regions. Ensure your UI looks good for both left-to-right and right-to-left languages. Localize app resources and add them to your Xcode project. For information about the internationalization and localization process, view Localization.
Design for everyone
Consider social and cultural differences when developing content, and avoid images and terms that have negative or derogatory connotations for portions of your audience. For more information, view Inclusion.
Test and debug your app thoroughly
During the development cycle, debug problems as they arise using the built-in Xcode debugger. Build automated test suites using XCTest and run them during every build to validate new code works as expected. Use the continuous integration system of Xcode Cloud to automate builds, test cycles, and the distribution of your apps to your QA teams.
Optimize your app’s performance
Identify bottlenecks and other performance issues in your code using the Instruments app that comes with Xcode. Profile your running code, find memory leaks, analyze resource usage, and much more. For information about how to gather metrics using Instruments, view Improving your app’s performance.
Choose a business model for your app
Distribute your app worldwide using a variety of business models, including free, free with in-app purchases, pay-to-download, and more. Build your interface in a way that offers a cohesive experience and supports your chosen business model. For more information, view Choosing a business model.
How to take it further
Once you have an app up and running, look for additional ways to improve the experience. Little things can make a big difference, whether it’s adding a particular feature, or presenting your content in a different way. For example:
Deliver contextually appropriate content to people
Think about how people use your app, and find ways to surface important content quickly. Use the current date and time to filter results, or to generate important notifications. Use machine learning to analyze data and offer better solutions. Rearrange your interface dynamically to make frequently used content more accessible.
Help people find your app’s content
Provide a comprehensive description of items to Spotlight search to make those items more findable. When someone selects a search result, use the provided user activity object to put your app in the proper state to display the result.
Add runtime condition checks around new features
When you update your app to support a new version of macOS, place runtime condition checks around code for new features. Runtime checks eliminate the need to ship different versions of your app: one for people running the new version of macOS, and one for people running older versions. Everyone runs the same app, and people on the newer version of macOS gain access to the new features you added. For information about how to add runtime checks, view Running code on a specific platform or OS version.
Your app isn’t the only way to support interactions with your content. Adopt the following technologies to extend the reach of your app to other parts of the system.
Integrate your content with other system services
Some parts of the system support app-specific information, and use app extensions to collect that information. Add a widget app extension to your app to display content in Notification Center, or add an action app extension to define Quick Actions for your app. For information about supported app extensions, view App Extensions.
Support the continuation of tasks on other devices
Handoff lets people start an app-specific activity on one device and resume it on another. For example, a person can start an activity on their Mac and continue it on an iPad or iPhone running your app. Continuity Camera lets people use a connected iOS device to scan documents or perform high-quality photo or video capture from their macOS app.
Support universal links for your app’s content
If your website and app offer similar content, add universal link support to your app. With universal links, you don’t need to create separate URLs to open content in your app. One URL opens your app when it’s installed or your website when it isn’t. For more information, view Allowing apps and websites to link to your content.
Export features that might benefit other apps
The Services menu in macOS displays tasks people can perform on the current selection. Populate this menu with the tasks your app offers, and write code to perform these services at runtime. For information, view Services Implementation Guide.
Some apps need to communicate with custom hardware, or extend the system to offer system-level services or security features. Consider adding a system extension to your app if you support any of the following activities:
You monitor events for potentially malicious activity
For example, you monitor the execution or forking of processes, the mounting of file systems, and raising signals. For information, view Endpoint Security.
You customize or extend core network features
For example, you configure the system’s Wi-Fi settings, create and manage VPN configurations, perform content filtering, manage system-wide DNS configurations, or integrate with a custom hotspot. For information, view Network Extension.
You talk directly to custom hardware
For example, you communicate with external USB devices, HID devices, PCI devices, serial devices, or many others. For information, view DriverKit.
Explore more
Learn more about technologies that provide unique capabilities, yet integrate tightly with Apple platforms to form a seamless ecosystem for apps and games across iOS, iPadOS, macOS, tvOS, visionOS, and watchOS.