WWDC15
-
Audio & Video -
 35:51
35:51
Editing Movies in AV Foundation
Learn how to use the new AVMutableMovie class to modify media files and simplify your editing workflows. See how to support segment-based editing and discover the power of sample reference movies.
Audio & Video English, Simplified Chinese
-
-
Developer Tools -
 35:40
35:40
Swift and Objective-C Interoperability
Discover new features that make it easier than ever to craft Objective-C APIs that work beautifully in Swift, as well as new Swift language features that provide even better interoperability. Apple engineers will also discuss enhancements to Apple's SDKs that improve the Swift experience.
Developer Tools English, Simplified Chinese -
 38:37
38:37
What's New in LLDB
Enhancements to LLDB simplify life for Swift and Objective-C developers alike. Experienced developers will find new powers within the debugging console, and learn more about the connection between the debugger and Swift REPL. Newcomers will get insight into the range of possibilities hidden...
Developer Tools English, Simplified Chinese
-
-
Graphics & Games -
 42:46
42:46
Managing 3D Assets with Model I/O
Model I/O provides a seamless infrastructure for accessing and managing 3D models. Its high-performance architecture supports reading and writing popular mesh and model formats, textures, and materials. Get introduced to the Model I/O framework and learn key details about its integration with...
Graphics & Games English, Simplified Chinese -
 39:48
39:48
What's New in Core Motion
See what's new in Core Motion. Learn how your application can take advantage of the motion sensors on iOS devices. Walk through new features of the pedometer and learn how to use the altimeter to take your app to the next level. Get personal with motion APIs and sensor data on the Apple Watch...
Graphics & Games English, Simplified Chinese
-
-
Maps & Location -
 34:32
34:32
What's New in MapKit
See what's new in MapKit. Learn about improvements to existing APIs and new ways of incorporating transit ETAs and Flyover map views in your app.
Maps & Location English, Simplified Chinese
-
-
Privacy & Security -
 41:20
41:20
Privacy and Your App
Learn about new developments in Privacy in iOS, OS X, and watchOS that impact your apps. Hear about best practices for delivering great features and respecting your customers' privacy.
Privacy & Security English, Simplified Chinese
-
-
Safari & Web -
 31:24
31:24
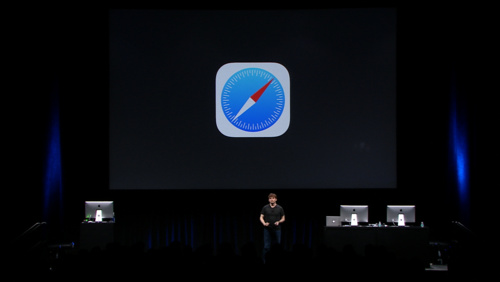
Introducing Safari View Controller
The new SFSafariViewController class enables you to deliver interactive web content in your app just like Safari, including the key Safari UI elements already familiar to your users. See how to easily bring Safari features like Reader and AutoFill into your app, and provide a great web viewing...
Safari & Web English, Simplified Chinese
-