-
Design great interfaces for handheld games
Get practical guidance from Apple Design team member Dylan Edwards about adapting console and PC game interfaces to iPhone and iPad. Learn how to create flexible layouts, maximize the full screen, maintain legibility, and design intuitive and responsive touch controls that make handheld gaming feel natural.
This session was originally presented as part of the Meet with Apple activity “Press Start: Game development on Apple platforms.” Watch the full video for more insights and related sessions.Resources
Related Videos
WWDC24
-
Search this video…
Hi. I'm Dylan. I'm a designer here at Apple, and I want to help you make great interfaces for handheld games. The earlier talks have gone into great detail about how to get your incredible high end games running on iPhone and iPad. But regardless of whether you've ported your own custom metal renderer or if you've built with an engine like Unity or Unreal, you'll eventually need to deal with concepts like touch input and new screen sizes. So I'm going to give you all the info you need to adapt your console or PC games interface to a handheld device.
I'll walk you through how to create flexible, scalable layouts, how best to make use of different screen shapes and sizes, how to keep your interface legible, and how to adapt input schemes for handheld devices.
While these tips will help you adapt your game to handheld, many of these are just great general guidelines as well. This isn't just extra work to do to bring your game to iPhone or iPad. Doing this right can make it easier to design your game for all devices.
That's especially true when it comes to creating flexible layouts. You may be an expert in designing and developing games for TV or computer screens, where the display is a big rectangle somewhere around a 16 nine aspect ratio. But handheld devices come in a wide range of sizes and aspect ratios for your game to look great on handheld devices. You've got to design an interface that scales gracefully across different types of displays.
This will make it easy for your game to support all of our iPhones and iPads without putting in manual work for each one. It also future proofs your design, creating something that will fluidly adapt to new displays.
The simplest place to start is to make sure your layout reacts to different aspect ratios.
Even on the same platform, different devices can have drastically different aspect ratios, as you see here on iPad.
taking the larger iPad Pro and the smaller iPad mini as examples, I could simply scale down my interface to fit the smaller device, but this isn't actually great. My controls don't end up where I want them because the screens have such different aspect ratios.
Simple scaling puts things in unpredictable locations and makes them difficult to reach, too small or too large, and just generally misaligned and poorly fit to the device.
A better strategy is to break up your interface into smaller components, based on their position relative to the edges of the display. You can then anchor those elements to their respective edges, and as you move between device shapes and sizes, you can keep each component at a consistent size and distance away from those anchor points. This keeps controls physically comfortable across any shape or size device, while making the best use of screen space across devices.
Using this method, you can take your games interface from something that looks awkwardly shoehorned into the device to a layout that feels comfortable and purposeful.
Flexible layouts will help your game look great across all sorts of screen sizes and aspect ratios. But in addition to different screen dimensions, some devices may also have screen shapes you're unfamiliar with. But this next piece of advice will help your full screen content look great regardless on iPad and iPhone. Designing a full screen gaming experience means keeping safe areas in mind.
Safe areas are the regions of the display where you can safely place content without worrying about overlapping hardware or software features.
Safe Areas help you avoid placing items where they could be obscured by the device's rounded corners.
They also help you avoid the system's Home Indicator and gesture regions, as well as the Dynamic Island on iPhone, all of which could potentially overlap your controls.
Designing within safe areas will ensure every part of your interface is visible and accessible to your players.
This doesn't have to be tricky, though. You can find help with all of this. Of course, there are APIs for getting a display safe area insets, and we also provide safe area templates on our developer website.
If you've used Xcode, you're probably familiar with the simulator app. This is an easy way to preview your game's layout on different device models and orientations, making it easy to check whether your design conflicts with any of these hardware features.
Remember, safe areas are meant as guides, but aren't meant to be the actual margins for your game. Take advantage of every pixel on the screen for your game's environment. If there's important content in your game that's getting clipped by device proportions, first try adjusting your game's camera. Play with different zoom levels and angles. See if you can fit that content in. In some cases, like a cinematic cutscene, you might already have a pre-rendered. You might already have pre-rendered content that only exists at a specific aspect ratio.
In those cases, you can make use of letterboxing to fit all the important details on the screen to make letterboxing still feel like a full screen experience. You can either fill that area in with custom game artwork, or tint it black to blend in with the device's physical hardware bezels.
But only use letterboxing if you have to. Your game will feel way more immersive if you make use of the entire screen.
With that, hopefully you can make the best use of every pixel on the display, no matter the device.
Now I want to talk about keeping your game legible at small sizes. I see a lot of people get tripped up on this when bringing their game to smaller screens, and I want to help you avoid this pitfall.
Something that is often overlooked when bringing games from console or desktop to smaller screens. Is that what might look great on a large TV can be barely legible if it's shrunk down to compact sizes without adjustments.
One of the smallest considerations that can make the biggest difference in your players experience is to make sure your text is large enough to read, and it sounds a little backwards, but the smaller a device is, the larger your text should be.
Apple platforms have recommended default and minimum type sizes on iPhone and iPad. Aim for a type size of 17 points or higher. This size works great for body text and call outs.
For less essential information. Try not to go lower than an 11 point type size, or you risk your players not being able to read what's on the screen.
And just as you want your players to be able to read your game's text, you also want them to comfortably use your controls.
Make sure your controls are large enough to make them easy to select. A mouse pointer can point at a single pixel. I don't know about you all, but my fingers are a lot bigger than one pixel. So on a touch screen, players need bigger buttons for their fingers than what's required on a PC or console.
On iPhone and iPad, the default tap target size you should aim for is 44 by 44 points. This is comfortable for most people's fingers and will make your controls easy to target.
For less critical elements, you can push it down to 28 points. But keep in mind that buttons at this size are going to be harder to tap. You don't want people feeling uncertain about their inputs while trying to play your game.
For both text and buttons, aim for the defaults. It'll make your game more comfortable for more people.
Now, if you're wondering how you'll fit these larger text and control sizes on such small screens, remember that people are very used to scrolling on mobile devices. You can use scroll views to present as much content as you see fit. So, for example, instead of needing to cram all your game settings onto the screen at once, you can utilize scrolling to take advantage of more vertical space, which also gives you some breathing room to increase the size of your controls. Same thing with text. Use scroll views if you have an overflow of information instead of shrinking text to solve the problem.
If you're ever in doubt about whether players can read your text or reach your controls, there's nothing I recommend more than testing it on a real device. Experiencing it yourself will give you the best sense of whether your game looks good and behaves correctly.
Better yet, try your game on as many devices as you can with as many testers as you can. That way, you can be confident people will feel comfortable no matter what hardware they're playing on.
So far, I've talked a lot about your game's output. What's on the screen? Let's talk input. Good control schemes are a huge differentiator, setting apart great handheld games from clunky, awkward ports. It's an opportunity to define how your game feels.
For that reason, I'm going to go real deep on input.
I'll talk considerations for different input methods, and then I'll show you how to design great touch controls by adapting movement and camera, placing controls intuitively, responding to gameplay, and providing feedback.
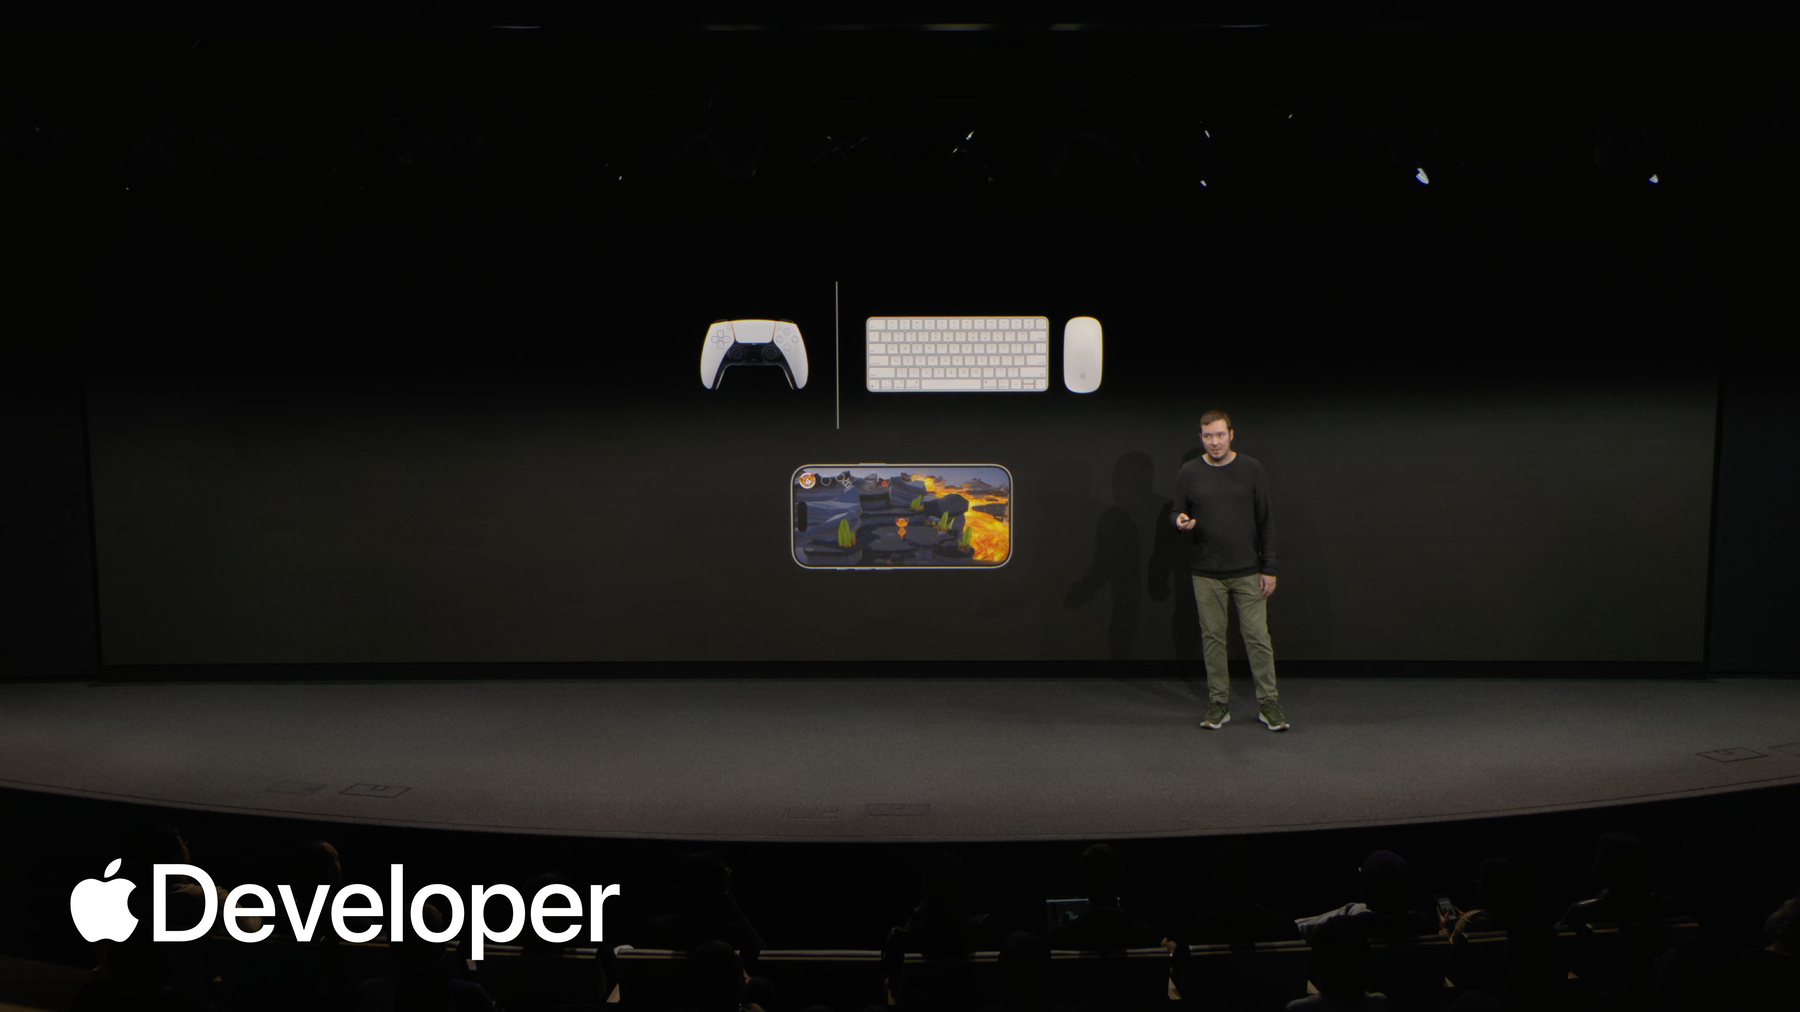
Just because we're talking about handheld devices doesn't mean players are necessarily using touch. As Alexi mentioned in his gaming Technologies talk. iPhone and iPad have excellent support for more traditional input methods, too. Someone may be gaming on their iPhone with a controller or on iPad with a keyboard and mouse.
That said, bringing your existing console and PC control schemes to our platform is pretty straightforward. There's just a couple of things to note. For one, we support a broader range of controllers than most other platforms, each with their own set of glyphs printed on the controls. You can handle this in your design work with our SF symbols app, which provides an enormous library of glyphs like these and many more.
But you shouldn't bake this art into your game. That will be a headache supporting every controller out there. You want to use the right artwork for whatever controller players may have, and you want it to update when people remap controls. The game controller framework makes this easy to do dynamically, and for the unity folks out there, this is all in the plugin that Alan mentioned earlier.
When implementing keyboard support, remember that the modifier keys on Apple keyboards are arranged in a different order than your typical PC keyboard, so you'll want to test and make sure that your controls are comfortable and adjust as necessary.
In addition to mouse, keyboard, and controller support, Apple is especially unique in our support for high end games on touch screen devices.
And while some players may play your game on their iPhone or iPad with a controller, the vast majority of them will play using their touch screen Because of that, touch controls are a critical part of any iPhone or iPad game. You don't want your awesome game to fall flat because of a poor control scheme. The good news is, it's not hard to create great touch controls. You can easily create, configure, and customize touch controls for your iPhone and iPad games with the Touch Controller framework. But whether you're using our framework, a third party game engine, or creating your own controls from scratch, I'll provide some universal guidance that applies equally to anyone designing games for a touch screen.
Designing for touch is a bit different from designing for controller. Traditionally, you have a rich design space within your game to react to the static inputs of your controller.
But on a touch screen, your input surface is also the output. Designing your game means designing your inputs to your touch. Controls aren't constrained by a physical controller. They exist on this dynamic screen. They can be informed by your game.
I have here a game I've built with a straightforward port of console controls to the iPhone. In its current form, the controls clutter the screen. They obscure content, and they make it difficult to comfortably and reliably press the right buttons. I'm going to rebuild this control scheme from the ground up and show you how to create something much better for touch.
I'll start with the fundamentals of movement and camera controls. How to adapt from thumbsticks on a physical controller to touch for a first or third person game like mine. I create a virtual replacement for the left thumbstick. The dynamic nature of a touch screen means I can hide this control when it's not in use, to avoid obstructing the game.
While a game controller has thumbsticks at a fixed location and size, you're not bound by those pesky physical constraints here. On a touch screen, players can't physically feel where their hand is relative to a thumbstick, and because of that, it's important to make your input area as broad as possible with a Game Controller. My game uses a left thumbstick press to make the character sprint, but a virtual thumbstick can't do that. I could create a separate button for this, but it's cumbersome to use. I have to stop moving to toggle sprint on and off, defeating the whole purpose of the control. Instead, I'll take advantage of the large dynamic range of the touch surface and build the sprint function directly into the virtual thumbstick. Instead of adding a button as I drag my finger further, the character can run faster. This is easier to use, and it has the added benefit of removing a control from the screen.
For camera control, which is typically on the right thumbstick. I could use another virtual thumbstick to port my controller input to touch, but this is missing out on one of the touch screens. Great capabilities, which is fast and precise tracking.
Instead, I'll use direct touch input to pan the camera. Notice how as the finger is moved left, right, up and down, it's directly manipulating the position of the camera like a mouse input for a PC game. This is way faster and more precise than any thumbstick, virtual or physical.
And just as I said for movement, the input area for your camera control should be as broad as possible.
In a game with an overhead or isometric perspective, there are a couple of different things to keep in mind. While a virtual thumbstick might work for movement, you should also consider letting a player tap to move. And while panning, the camera transfers over well, you can add inertia to help quickly traverse large distances and use a two finger pinch to zoom in and out. These behaviors will be very familiar to people using iOS as they appear all over the system, like in maps.
Now that I have my core movement and camera functionality sorted out, I'll talk about how to place controls for all of the other actions in my game.
Just as I mentioned earlier, when placing controls, I'll need to be mindful of the safe area insets and avoid the regions at the edge of the screen.
But I also want to avoid putting controls in the areas where I expect movement or camera input to happen.
And of course, I want to avoid covering my character so I won't place any controls in the center of the display. This leaves me with the regions around the thumbs, which are ideal for placing frequent or more important actions. And the region at the top of the screen, which is a great place to put less frequently used controls like menu buttons, because players will likely be playing your game with only their two thumbs, you have to consider which controls might need to be used at the same time, so that you can place them on the appropriate side of the screen.
A common control scheme is to use a left trigger or L2 button for zooming a camera to aim, while R2 performs an aimed ability like my fire action.
This control scheme doesn't translate well to touch as is. You can't aim and move at the same time, and you can't adjust your target while firing.
If I swap these controls and place the zoom control on the right, I can combine the zoom with my camera input, which is a natural combination. You can see that I can hold R2 button and aim at the same time, and my left thumb is free to move my character or fire.
So with that guidance, my controls will be well placed, but I could really elevate them with some new dynamic behaviors that are only possible on a touch screen.
What's great about touch controls is that they can change updating in real time to react to your game. These things aren't made out of plastic, and you can do things you could never do with a physical controller.
For starters, instead of showing static controller button glyphs, you should use glyphs that represent your game's Actions. Rather than having to teach people your input schemes, players can simply look at the controls to learn what they do.
When a control changes its behavior based on context, you should update its symbol to match. And importantly, when an action isn't available or relevant, you should remove it entirely to avoid cluttering the screen.
Applying this to my game, I'll replace those standard console button glyphs with descriptive glyphs for each control.
I'll remove controls entirely when they're not available, like my fire button that's only available while aiming, and when the player begins aiming, I'll update which controls are visible, revealing the fire button and hiding everything else.
I can even use my controls to reflect details about the state of the game. Here I'm using my fire button to visually represent a cooldown or when that action will be available to use again.
And of course, when I show my menu, I hide all my controller buttons completely. It's crucial that your menus respond to touch. Virtual controls cover up content and make navigating difficult, navigating menus slow and difficult. No one wants to use a virtual controller to interact with buttons that are right in front of them.
At this point, I've created a great touch control scheme, but there's one final missing piece feedback.
Touch screens don't have the tactile feedback of physical controls, so you need to provide feedback in other ways. It's extremely important that any touch control you create has a press. State press states give the player confidence that they've pressed a button, and without them, controls feel unresponsive and dead. This could be as simple as darkening or highlighting buttons when pressed, but in the context of a busy game, you might want to draw visual effects like a glow outside of the bounds of your control. This helps provide feedback even when a finger is covering the button itself. You can also theme these effects to better integrate them into the visual style of your game.
Sound and haptics are another great form of feedback, and can even go beyond the feel of a simple button press. You can add subtle haptics on, touch down, and touch up to provide a sense of responsiveness. In addition to designing sound and haptics for the in-game actions that your controls perform.
With that final step of adding feedback to my controls, I've totally overhauled the input scheme and made something that will really shine on a touch screen. I hope all of this guidance helps you create an incredible handheld experience for your games. Following these simple techniques, things you might have seen as obstacles to handheld gaming are easily avoided with smart design decisions.
With the right design, handheld gaming doesn't have to be a compromise. And importantly for developers, it doesn't have to be difficult either.
Thank you everyone. I’ll hand it back to Charlyn.
-